Essential Tools for DIY Computer Component Upgrades
Table Of Contents
Installing New Components
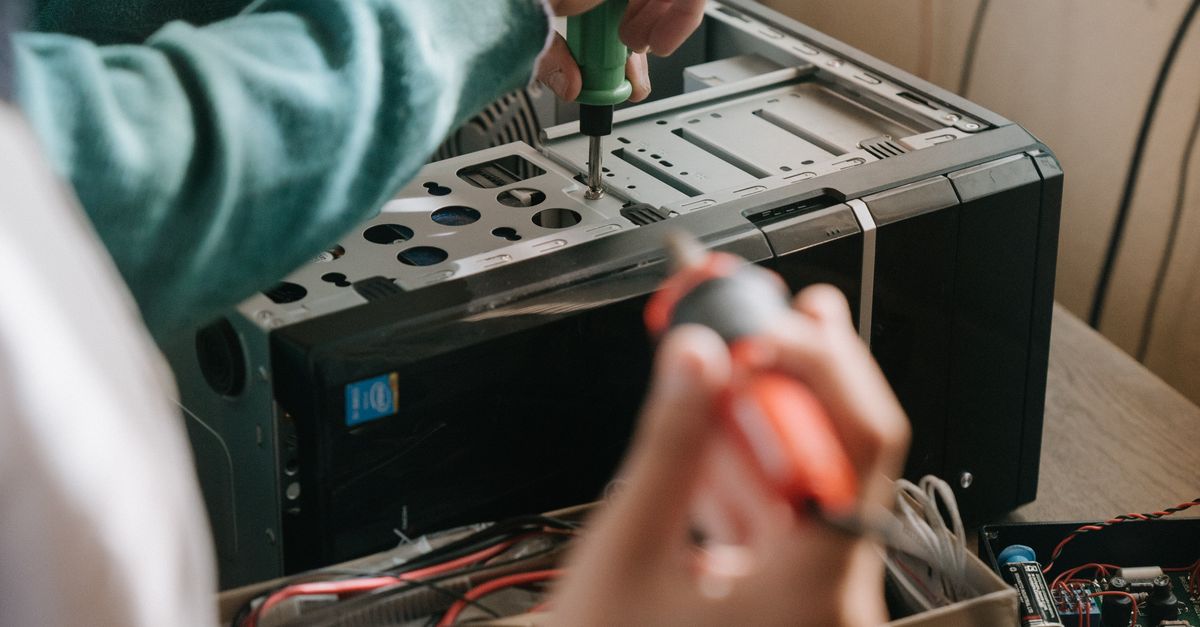
Upgrading your computer can greatly enhance its performance and capabilities. When beginning the installation of new components, ensure you have the necessary tools at hand. A suitable screwdriver set is essential for accessing the computer’s casing and securing components. Additionally, an anti-static wrist strap can prevent harmful static electricity from damaging sensitive parts. Organising your workspace before starting the installation process helps streamline the task and reduces the chance of losing small screws or accessories.
Before removing or replacing any components, familiarise yourself with the internal layout of your computer. Refer to the user manuals for your specific hardware, as this will provide detailed instructions on how to proceed safely. Take care to handle everything with caution, as improper handling can lead to damage. It’s wise to disconnect all power supply connections and to take notes or photographs of the original setup for reference. This preparation allows for a smoother and more effective upgrade experience.
Tips for Seamless Integration
When upgrading your computer components, it's vital to ensure compatibility with existing hardware. Begin by checking the specifications of your new parts against your current setup. For example, your motherboard must support the new RAM speed and capacity. Always refer to the documentation of your hardware for any compatibility lists. Research online resources and community forums if needed. This foundational step will save time and minimise the risk of installing components that cannot communicate effectively.
Proper installation techniques play a significant role in achieving seamless integration. Handle all components with caution to avoid static damage. It’s advisable to use an anti-static wrist strap while working inside your case. Ensure that connections are secure, and that you do not mix up cables. Double-check that all screws and mounts are firmly in place. Once installed, boot your system and enter the BIOS to verify that all new components are recognised and properly set up before proceeding with software installations.
Testing Your Upgrades
After installing new components, it’s essential to ensure they function correctly. Start by powering on your computer and checking for any BIOS or error messages. Accessing the BIOS can provide immediate feedback about the newly installed hardware. Pay close attention to the temperatures and voltages displayed. This initial check can help identify any issues before proceeding further.
Once you’ve booted into your operating system, running diagnostic tools will also be beneficial. Utilise benchmarking software to monitor performance and stability under load. This can inform you if the upgrades are delivering the expected improvements. Additionally, keep an eye on system behaviour during routine tasks to detect any anomalies that may arise from the new setup.
Ensuring Everything is Functioning Correctly
After completing your hardware upgrades, it is essential to verify that all components are functioning correctly. Start by powering on your computer and checking for any immediate error messages on the screen. It is a good practice to listen for unusual sounds from the hardware and to observe any LED indicators that might signal issues. Ensure that all connections are secure, as loose cables can lead to performance problems.
Once your system boots up, consider running diagnostic software to test the functionality of the new components. Tools like CPU-Z or HWMonitor can provide detailed information about your system's performance metrics. Keeping an eye on temperatures and resource usage will help you catch any potential problems early. Regularly updating drivers for new hardware is also crucial for maintaining optimal performance and compatibility across your system.
Troubleshooting Common Issues
Upgrading computer components can sometimes lead to unexpected issues. If the new part isn’t recognised by the system, start by checking connections. Ensure all cables are securely attached and that the component is properly seated in the appropriate slot. Look for any blinking lights or error codes on the motherboard; these indicators can provide critical information for diagnosis. Additionally, confirm that your system’s BIOS is updated, as an outdated BIOS can prevent compatibility with newer hardware.
In cases where components are recognised but not performing as expected, testing them in a different machine can be helpful. This can determine if the issue lies with the component itself or with compatibility in your existing setup. If persistent problems occur, consulting forums or manufacturer support may offer useful insights. Keeping all original packaging and documentation can also be beneficial should you need to return or exchange any components.
How to Identify and Fix Problems After Upgrade
After upgrading your computer components, it’s essential to monitor how everything is functioning. Start by checking if your system recognises the new hardware. Access the device manager to see if the components are listed correctly. Pay attention to unusual noises or performance drops. These could indicate incorrect installation or compatibility issues. Conducting stress tests can help gauge the performance of the new components under load.
In the event of malfunctions, diagnosing the problem requires a systematic approach. Begin by revisiting the installation process to ensure all connections are secure. Remove and reseat the hardware if necessary. Use diagnostic tools to identify any discrepancies. If the issue persists, consult online forums or official manufacturer resources for troubleshooting guides specific to your hardware. Testing in different configurations may also uncover potential conflicts with existing components.
FAQS
What tools are essential for DIY computer component upgrades?
Essential tools include a screwdriver set (preferably magnetic), anti-static wrist strap, thermal paste, cable ties, and a multimeter for testing electrical connections.
Do I need any special skills to upgrade my computer components?
While basic technical skills are helpful, many upgrades can be performed by following step-by-step guides. Familiarity with computer components and safety precautions is beneficial.
How can I ensure my new components are compatible with my computer?
Check the specifications of your existing components and the new upgrades. Refer to the manufacturer’s websites for compatibility information, and consider using tools like PCPartPicker to help verify compatibility.
What should I do if my computer doesn't start after upgrading components?
First, double-check all connections to ensure they're secure. Then, remove and reseat the new components. If the problem persists, consult a troubleshooting guide or consider seeking professional assistance.
How often should I perform upgrades on my computer?
The frequency of upgrades depends on your needs and technology advancements. Generally, upgrading components every few years can help keep your system running efficiently and capable of handling new software demands.
Related Links
Upgrading Your Cooling System: Best PracticesUnderstanding PCIe Slots for Modern Upgrades
How to Select Compatible Power Supplies for Upgrades
A Step-by-Step Guide to Replacing Your Hard Drive
Evaluating Upgrade Options for Your Laptop