Upgrading Your Motherboard: What You Need to Know
Table Of Contents
Step-by-Step Guide to Installing a New Motherboard
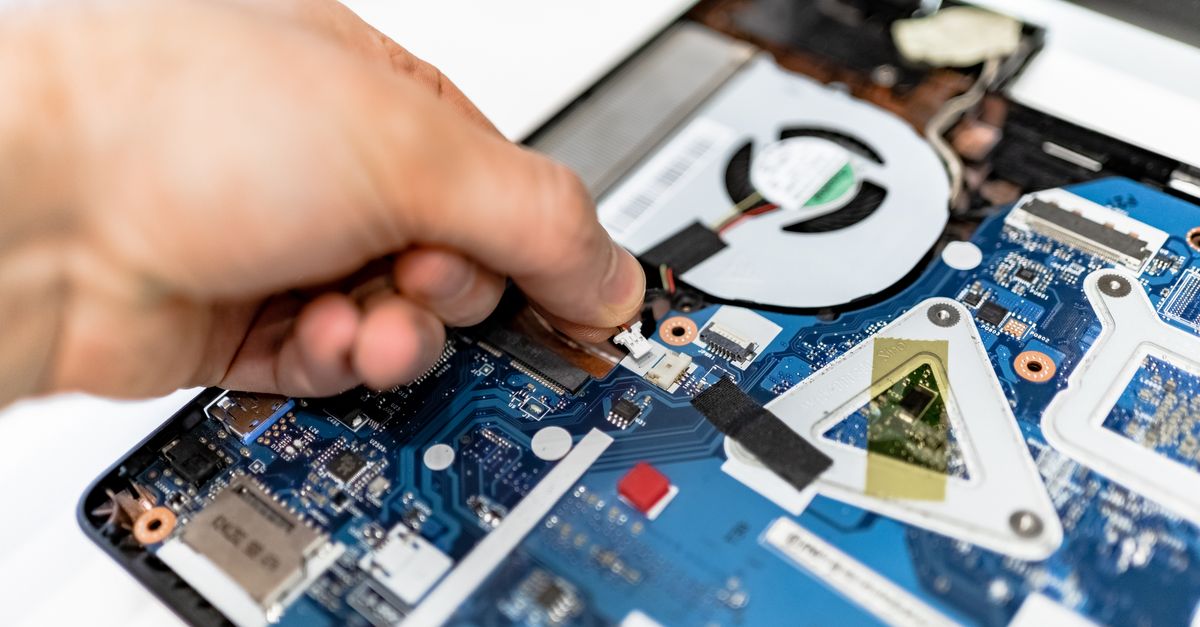
Before starting the installation process, ensure you have all the necessary tools within reach. A screwdriver, anti-static wrist strap, and zip ties for cable management can be very helpful. Disconnect all power sources and detach peripherals. Open your computer case carefully to avoid damaging any components. Familiarise yourself with the layout of your new motherboard, paying close attention to the CPU socket, RAM slots, and I/O ports.
Begin by removing the old motherboard from your case. This involves unscrewing it from the mounting points and disconnecting all power connectors, SATA cables, and any other peripherals. Once the old board is out, it’s time to install the new one. Align it with the mounting points in the case and ensure that the I/O shield is properly seated. Secure the motherboard with screws, reconnect the power supply cables, RAM, and any additional components before closing the case.
Essential Installation Tips and Best Practices
When preparing to install a new motherboard, gather all necessary tools to streamline the process. A Phillips-head screwdriver is essential for removing screws, while anti-static wristbands help prevent damage from static electricity. Before starting, ensure your workspace is clean and well-lit, allowing for easy access to components. Following the manufacturer’s instructions closely can prevent errors that might arise from improper installation.
Take care to manage cables and connectors efficiently during the installation. Neatly routing cables not only improves airflow but also helps avoid potential damage during future upgrades. Double-check that all components are securely connected before powering on the system. Verifying connections reduces the likelihood of troubleshooting later on. Keeping track of screws and small parts is also vital; using containers can help avoid losing critical components during the process.
Compatibility with Other Hardware
Before purchasing a new motherboard, it's crucial to ensure compatibility with your existing components. The central processing unit (CPU) is a primary consideration; not all motherboards support every CPU model. Check the socket type of your current CPU and match it with the motherboard specifications. Additionally, the motherboard's chipset plays a significant role in providing support for specific features and performance optimisations. Take the time to confirm that the motherboard is compatible with the CPU generation you are planning to use.
Another essential factor to consider is the RAM. Different motherboards have varying numbers of RAM slots and support different types of memory, such as DDR4 or DDR5. Verify the maximum RAM capacity the motherboard can handle, as well as the supported speeds. Mixing RAM modules from different manufacturers or varying speeds can lead to performance issues. Always consult the motherboard’s documentation for a compatibility list and recommended RAM configurations to facilitate a smooth upgrade.
Ensuring Your CPU and RAM Work Together
When upgrading a motherboard, it's crucial to consider the compatibility of your CPU and RAM. Each motherboard has specific limits on the type of processors it can accommodate. Therefore, ensure that your CPU's socket type matches the motherboard's. The chipset also plays a role, as it determines which features and speeds are supported. Research the specifications for both the CPU and motherboard to avoid purchasing components that won’t work together.
RAM compatibility is equally important. Check the motherboard's specifications to know the supported RAM types, speeds, and capacity limits. Not all motherboards support the latest DDR standards, while others may have restrictions on the number of RAM slots that can be filled. Mixing different RAM types or brands can lead to instability or failure to boot. Opting for a matched set of RAM sticks can simplify this process, ensuring optimal performance and compatibility with your new setup.
Updating BIOS After Installation
After installing a new motherboard, updating the BIOS is a crucial step that many users overlook. BIOS, or Basic Input/Output System, acts as an interface between the operating system and the hardware. Manufacturers regularly release updates that can improve system stability, add compatibility for new components, and enhance overall performance. Skipping this update might leave your system vulnerable to bugs and performance issues that could have been resolved with the latest firmware.
To begin the updating process, first, research the specific BIOS version available for your motherboard model on the manufacturer's website. It’s advisable to carefully read the release notes as they often outline the improvements or fixes included in the update. Once you've gathered the necessary information, follow the manufacturer’s instructions closely to perform the update. Downloading the update file typically requires a USB drive to facilitate the process. A proper installation can significantly enhance the functionality of your hardware. Ensure you back up any important data before proceeding, as a BIOS update carries a small risk of failure that could affect your system’s booting capabilities.
The Importance of Keeping Your Firmware Current
Firmware updates play a crucial role in enhancing system performance and stability. These updates can address bugs, add new features, and improve compatibility with newer hardware and peripherals. Keeping your motherboard firmware current ensures that you benefit from the latest optimisations, which can significantly enhance the functionality of your entire system. Regular updates can also improve security, addressing vulnerabilities that may otherwise be exploited by malicious software.
It's vital to follow the manufacturer’s instructions when updating firmware. This process can vary depending on the brand and model of your motherboard. Using the right tools and methods is essential to avoid any potential issues. An unsuccessful update can lead to system instability or failure to boot. Regularly checking for updates helps maintain your system's longevity and reliability. Each new update can offer beneficial enhancements and keep your system equipped to handle evolving technology demands.
FAQS
What should I consider before upgrading my motherboard?
Before upgrading your motherboard, consider compatibility with your existing CPU, RAM, and other hardware components, as well as the size of your case and power supply requirements.
How do I know if my new motherboard is compatible with my CPU?
Check the motherboard’s specifications for supported CPU socket types and chipsets, and ensure your CPU matches these requirements. Manufacturer websites often provide compatibility lists.
What tools do I need for installing a new motherboard?
You’ll need a screwdriver, thermal paste (if applicable), and possibly an anti-static wrist strap to prevent static damage to components. A well-lit workspace is also beneficial.
Do I need to reinstall my operating system after upgrading my motherboard?
It’s often recommended to reinstall your operating system after a motherboard upgrade to avoid driver conflicts, though sometimes you can simply update drivers for a smoother transition.
How can I update the BIOS after installing a new motherboard?
To update the BIOS, visit the motherboard manufacturer's website, download the latest BIOS version, and follow their instructions for creating a bootable USB drive and applying the update.
Related Links
Enhancing Your PC with a New Power Supply UnitBenefits of Switching to a Solid State Drive
Maximum Performance: Upgrading Your Network Card
Tips for Installing Additional Storage Solutions
A Guide to Upgrading Your Computer Case